Create Sample Data
Create Sample Data
In this step, we will configure Kinesis Data Generator to generate sample data and push it to Kinesis Firehose.
Configure Amazon Cognito for Kinesis Data Generator
-
Access the AWS Management Console.
- Find CloudFormation.
- Select CloudFormation.

-
In the CloudFormation interface.
- Choose Stacks.
- Choose Create stack.

-
Download the cognito-setup.json file from First Cloud Journey.
- Use the shortcut Ctrl + S to Save it.
-
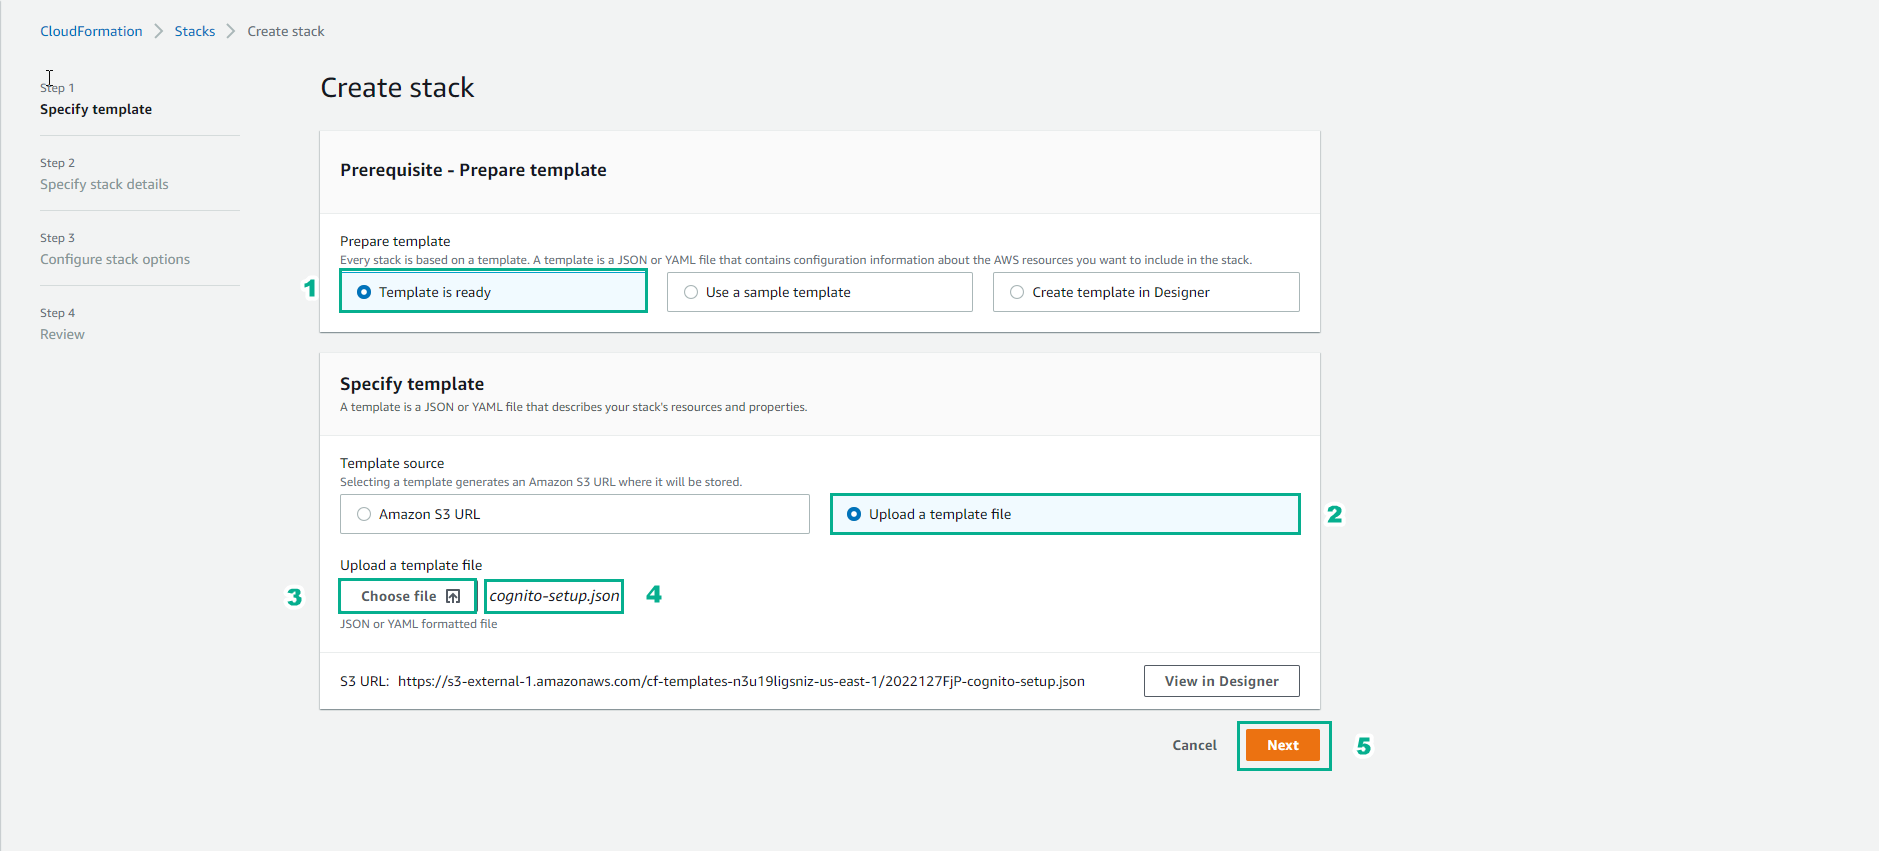
In the Create stack interface.
- Choose Template is ready.
- Choose Upload a template file.
- Choose Choose file.
- Select cognito-setup.json.
- Choose Next.
-
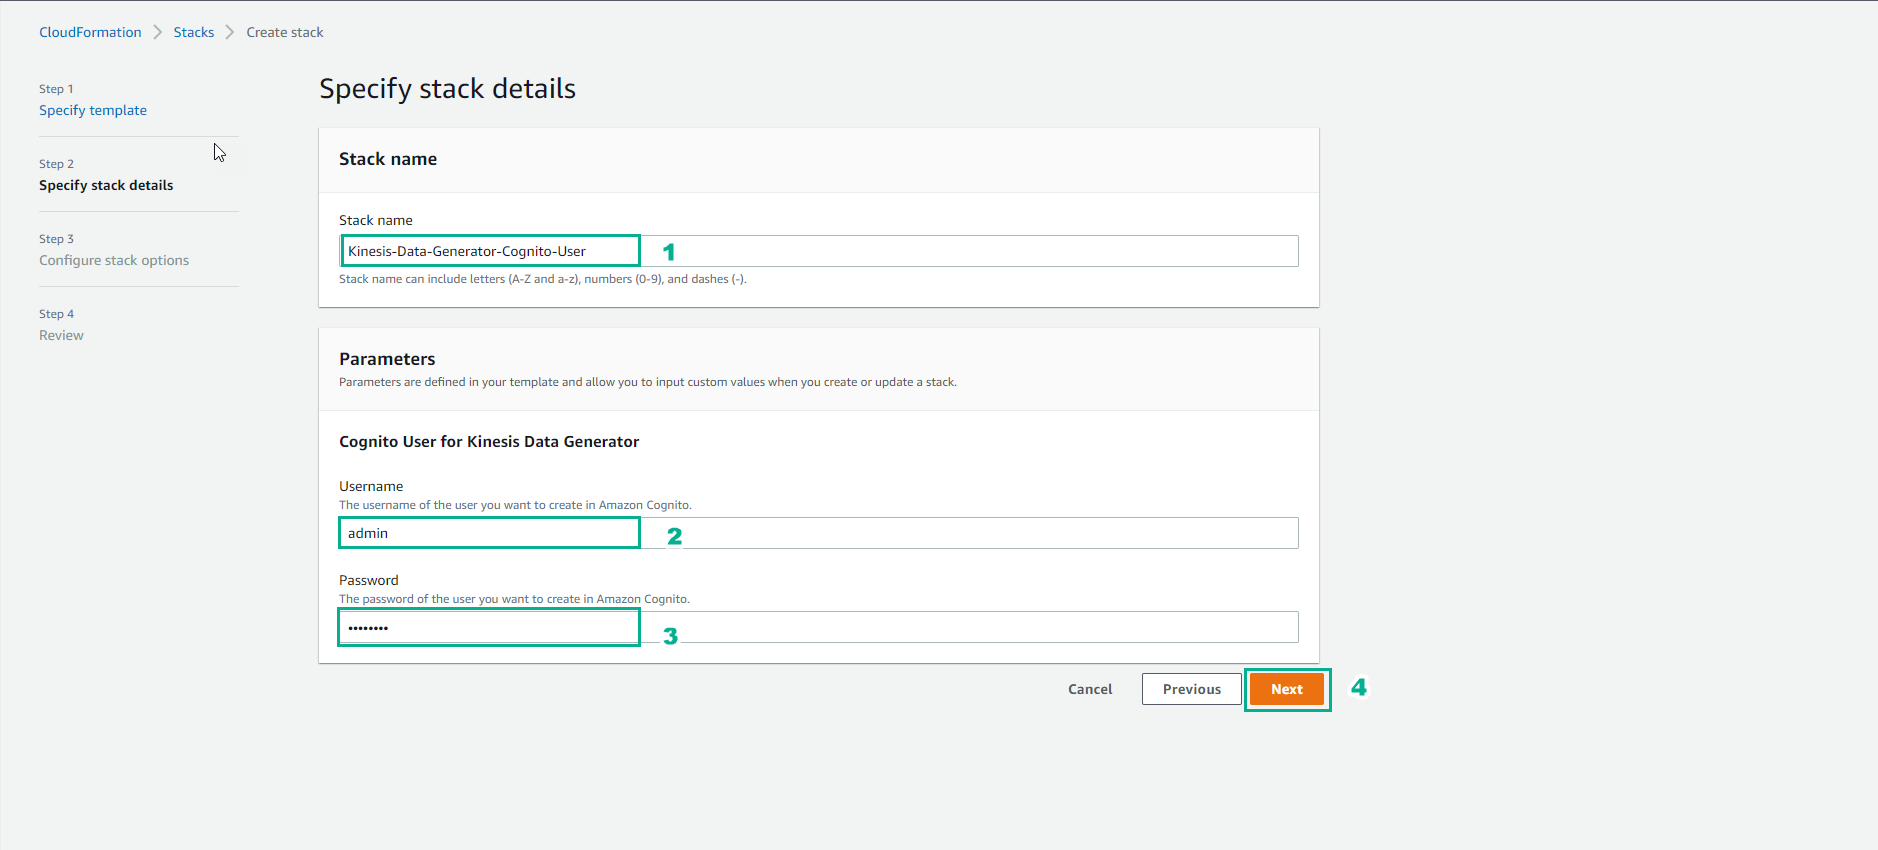
In the Specify stack details interface.
- Stack name, enter
Kinesis-Data-Generator-Cognito-User. - User name, enter
admin. - Enter the password you want to use.
- Choose Next.
- Stack name, enter
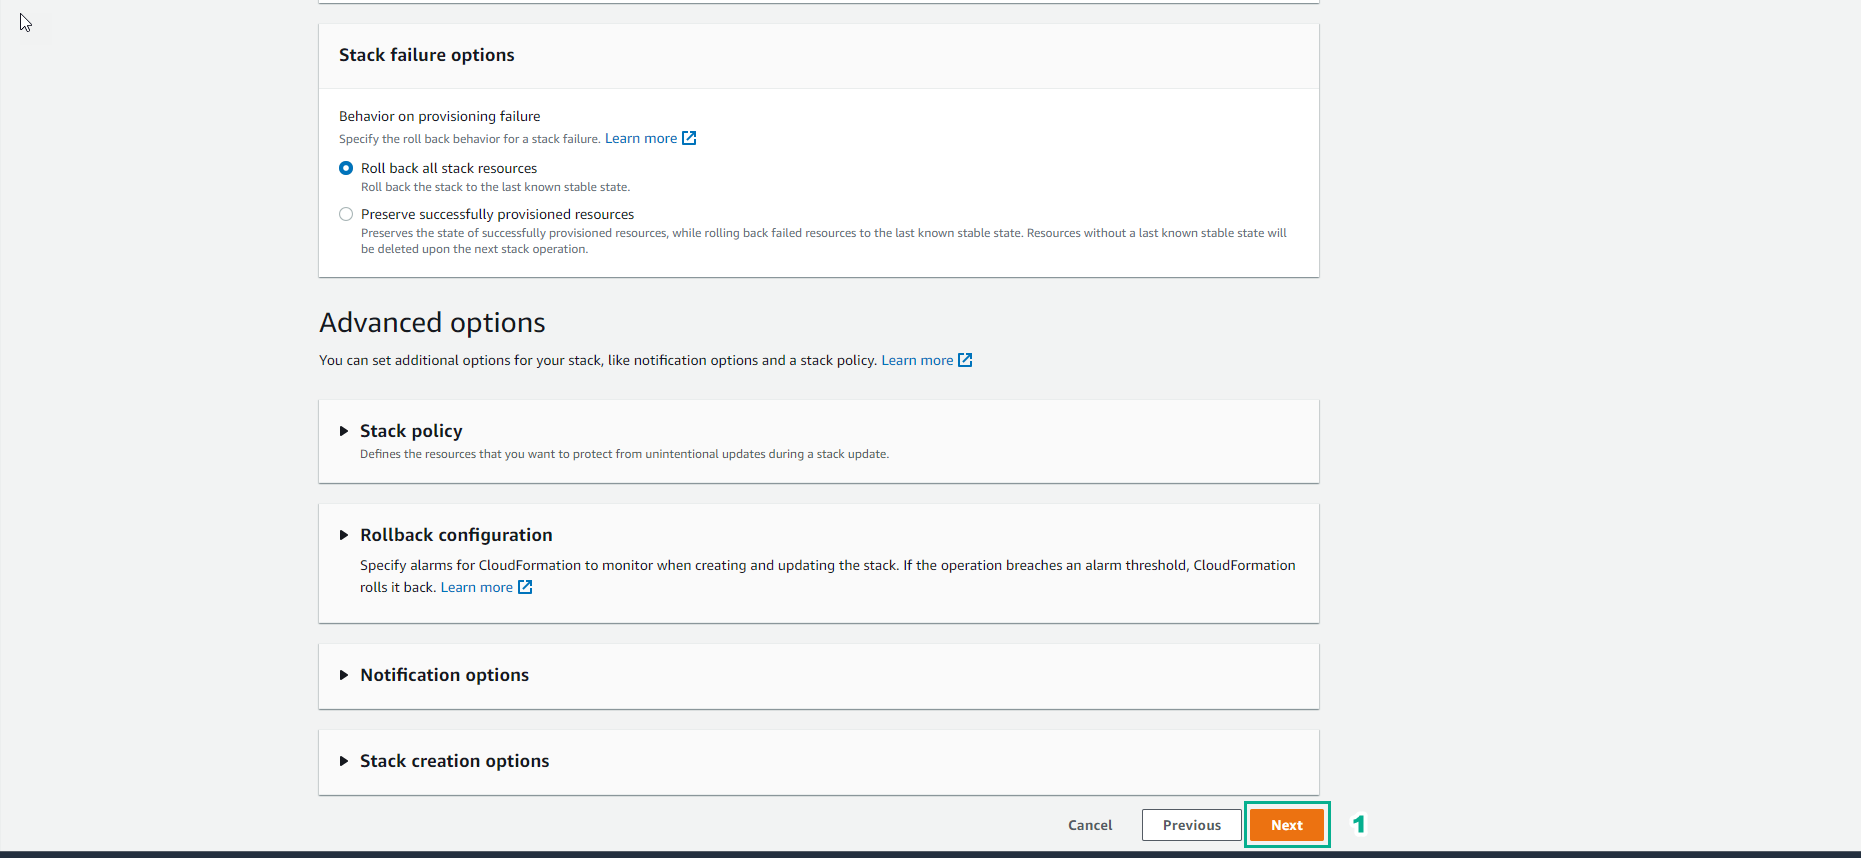
-
Choose Next.
-
In the Create stack interface.
- Choose I acknowledge that AWS CloudFormation might create IAM resources.
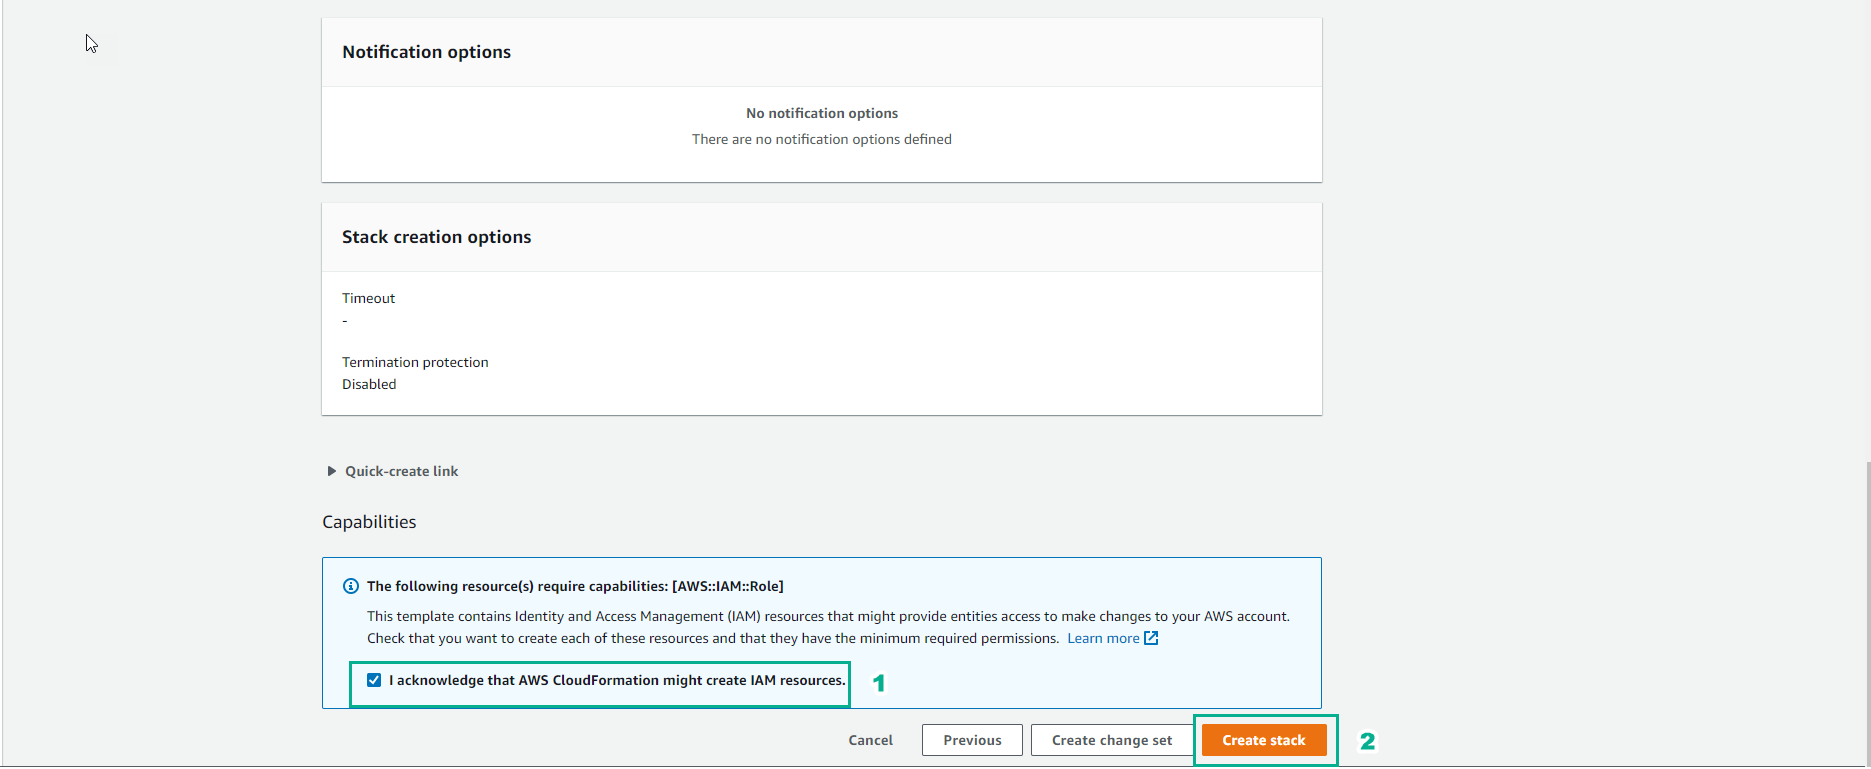
-
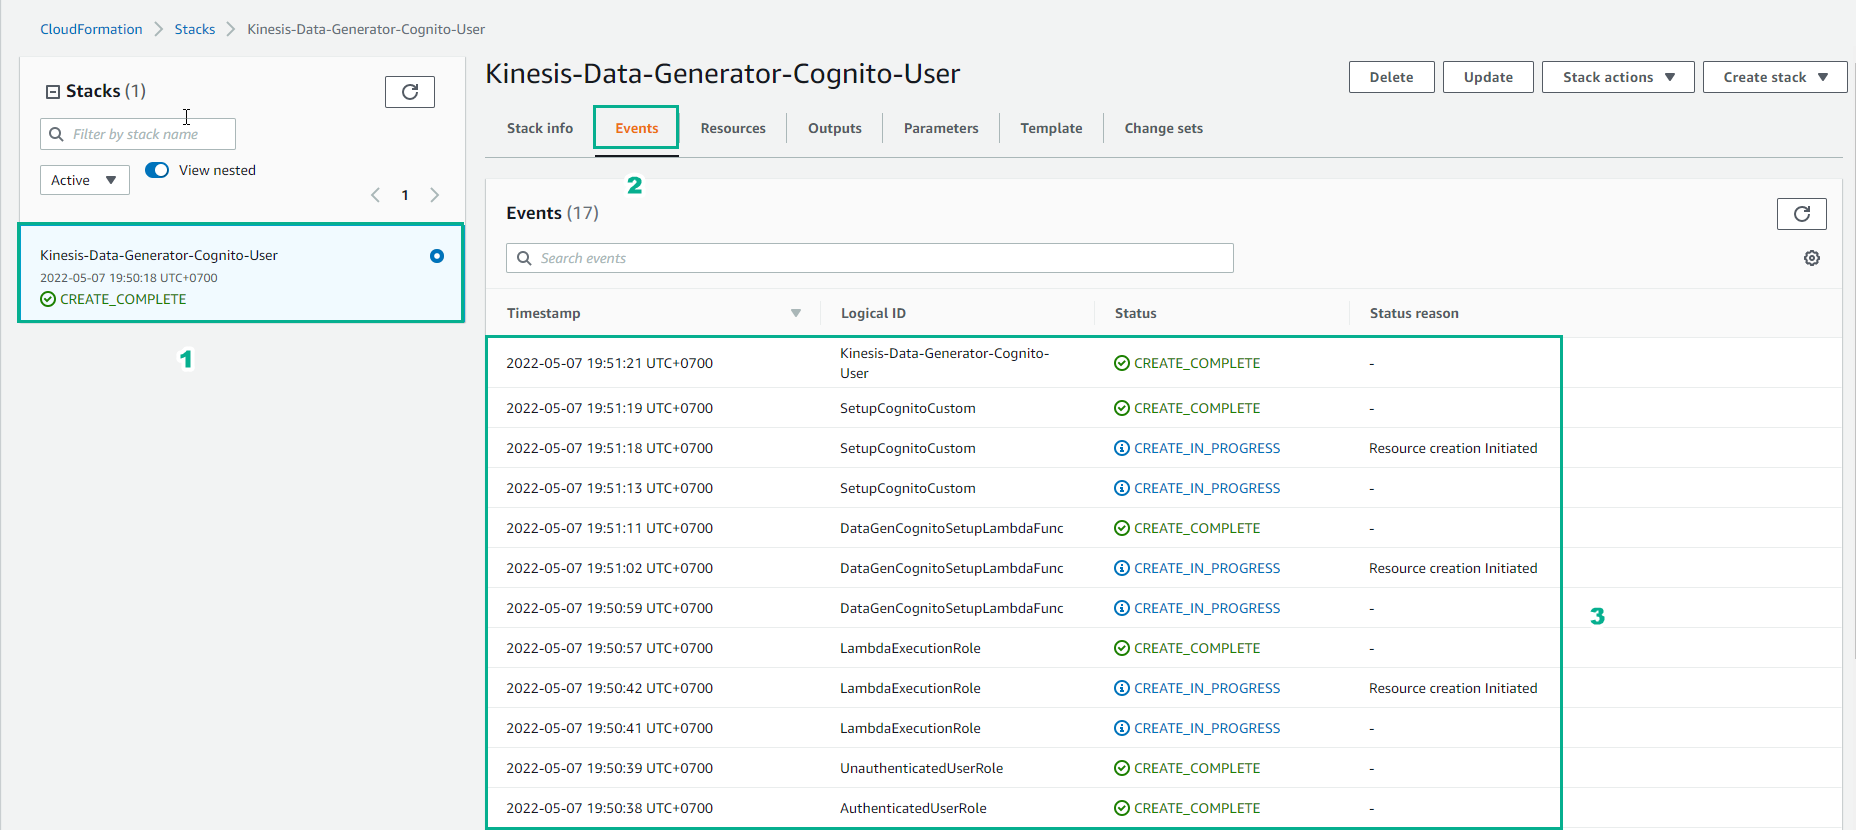
Wait for about 5 minutes to complete the stack creation.
- Select the Kinesis-Data-Generator-Cognito-User stack.
- Choose Event to view the initialization process.
-
In the Stack interface.
- Select the Kinesis-Data-Generator-Cognito-User stack.
- Choose Outputs.
- Choose KinesisDataGeneratorUrl.

-
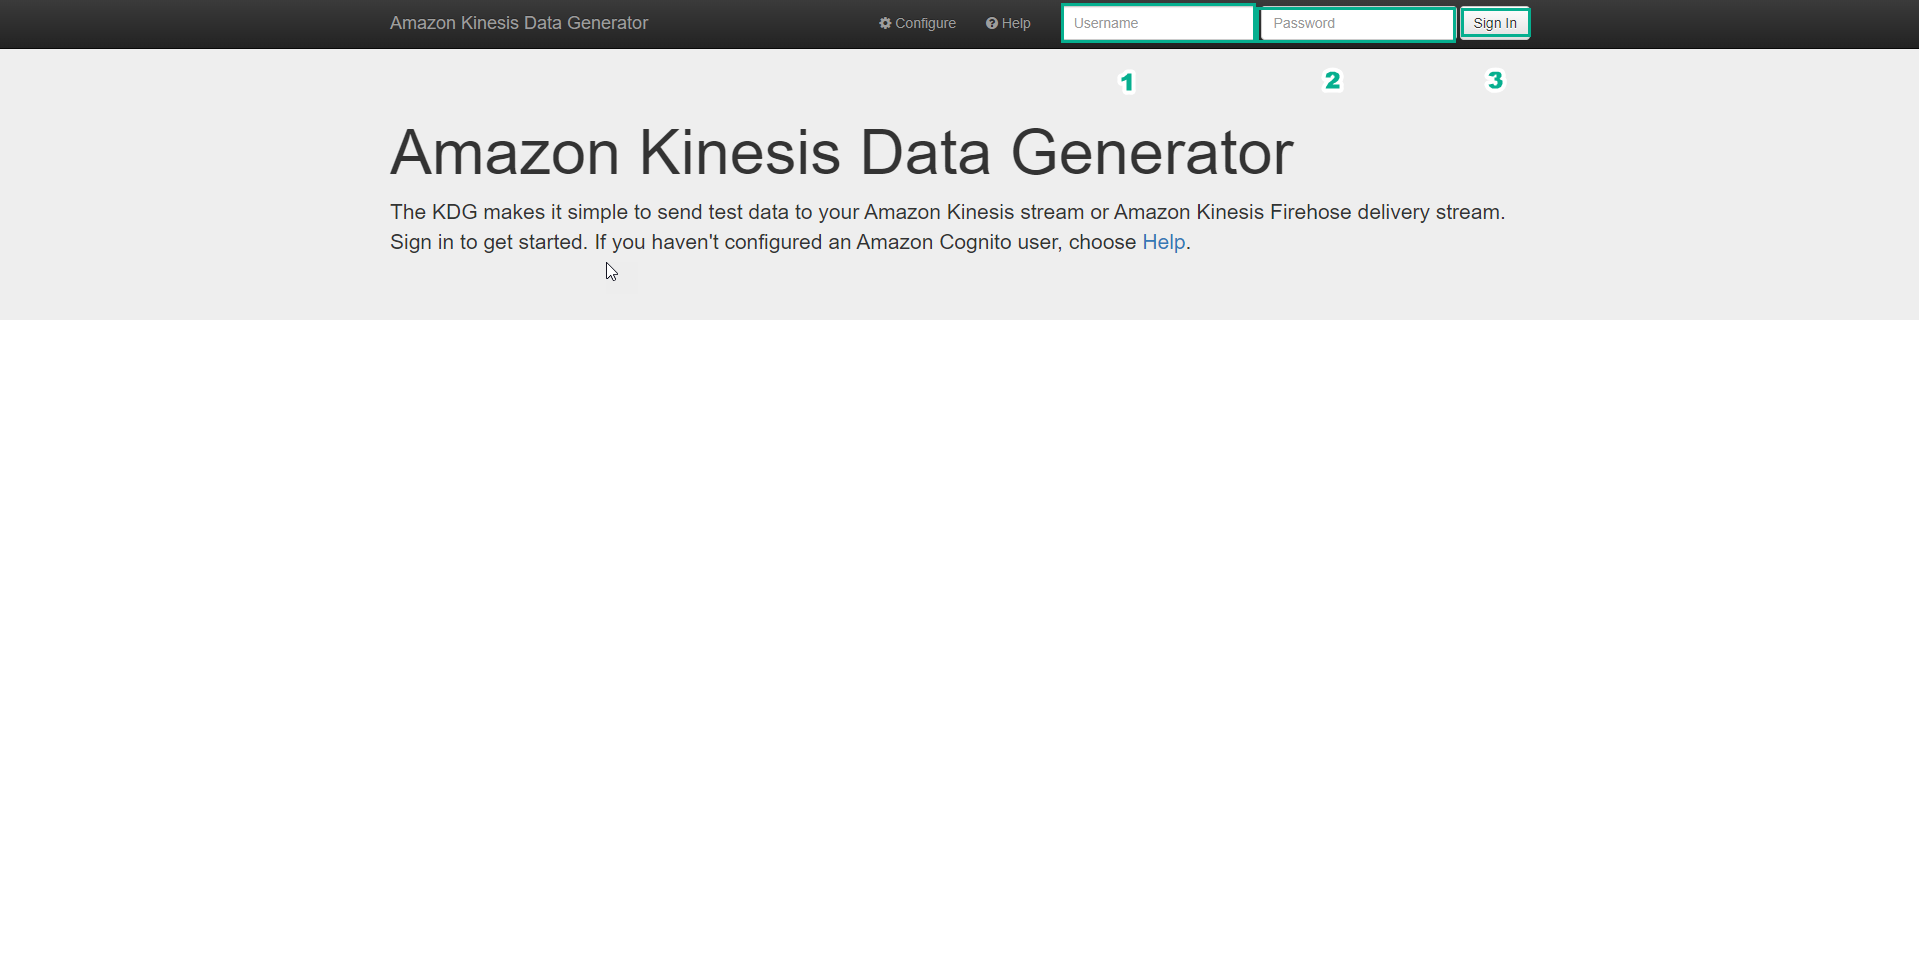
In the Amazon Kinesis Data Generator interface, complete the information entry (this information you configured in the stack creation step).
- Enter Username.
- Enter Password.
- Choose Sign In.
-
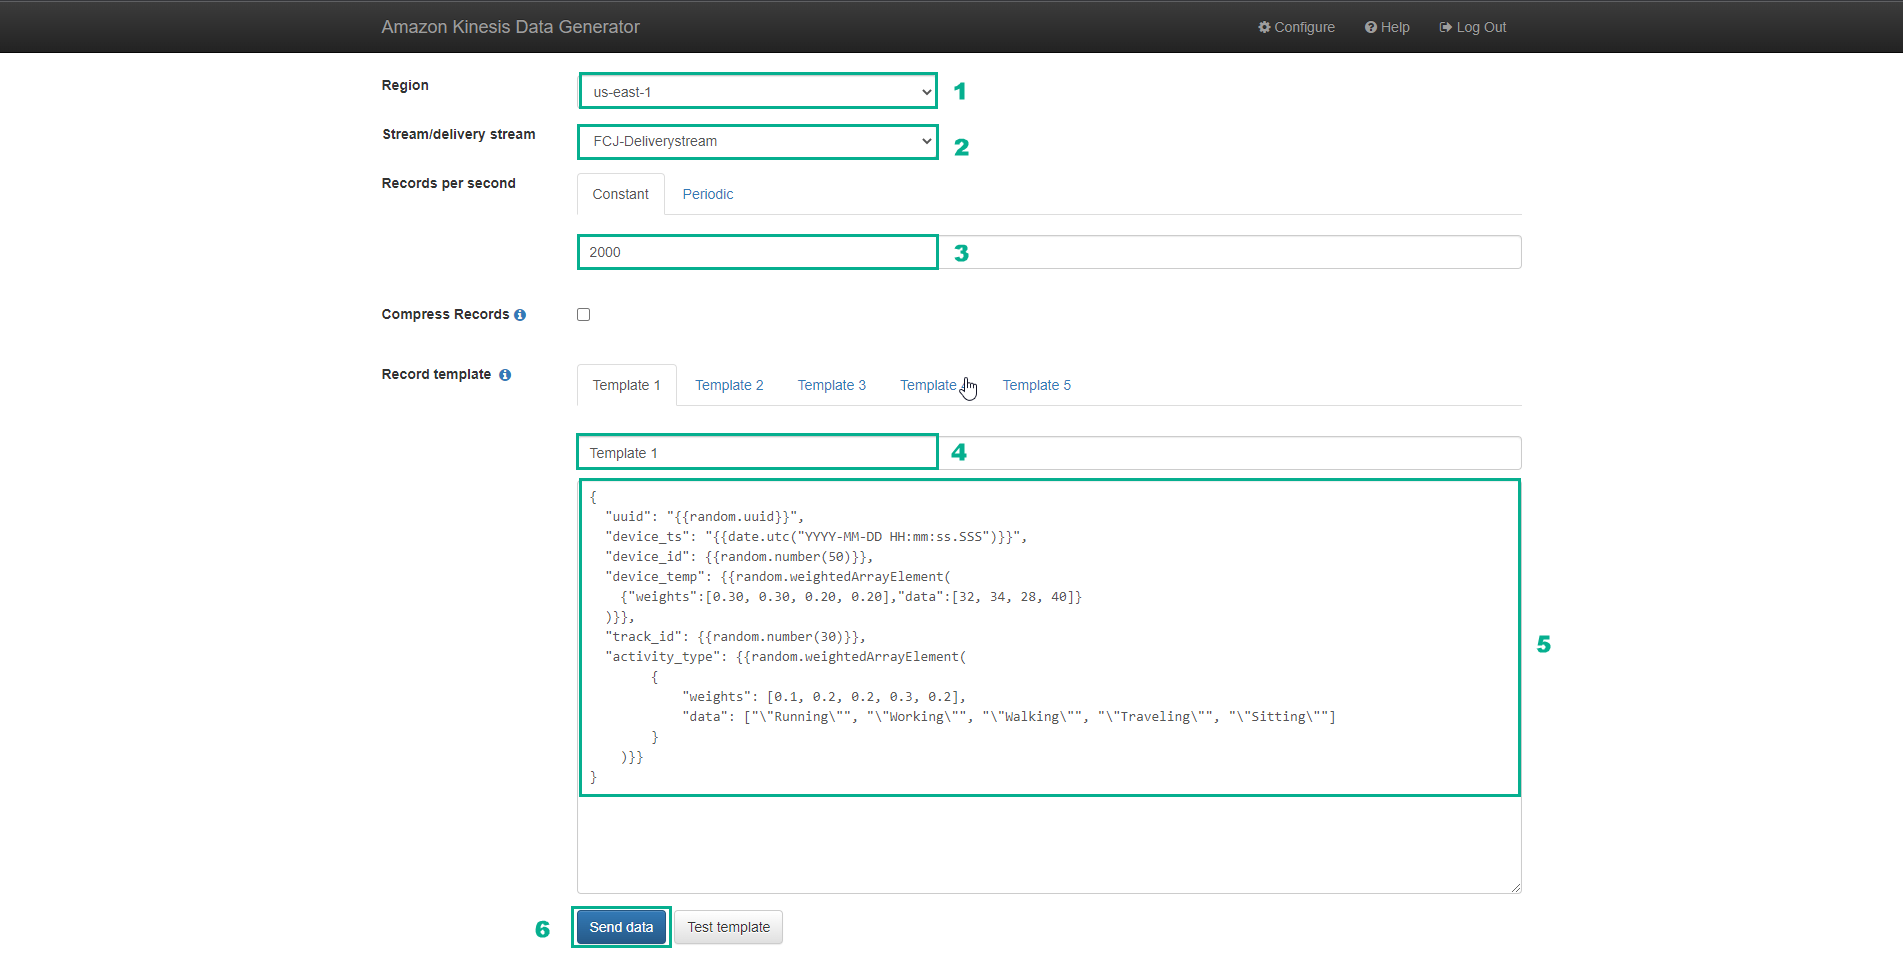
In the Amazon Kinesis Data Generator interface, after successfully logging in.
- Region, select us-east-1.
- Stream/delivery stream, select FCJ-Deliverystream.
- Records per second, enter 2000.
- Choose Template 1.
- Enter the following code:
{ "uuid": "{{random.uuid}}", "device_ts": "{{date.utc("YYYY-MM-DD HH:mm:ss.SSS")}}", "device_id": {{random.number(50)}}, "device_temp": {{random.weightedArrayElement( {"weights":[0.30, 0.30, 0.20, 0.20],"data":[32, 34, 28, 40]} )}}, "track_id": {{random.number(30)}}, "activity_type": {{random.weightedArrayElement( { "weights": [0.1, 0.2, 0.2, 0.3, 0.2], "data": ["\"Running\"", "\"Working\"", "\"Walking\"", "\"Traveling\"", "\"Sitting\""] } )}} }- Then, choose Send data.
-
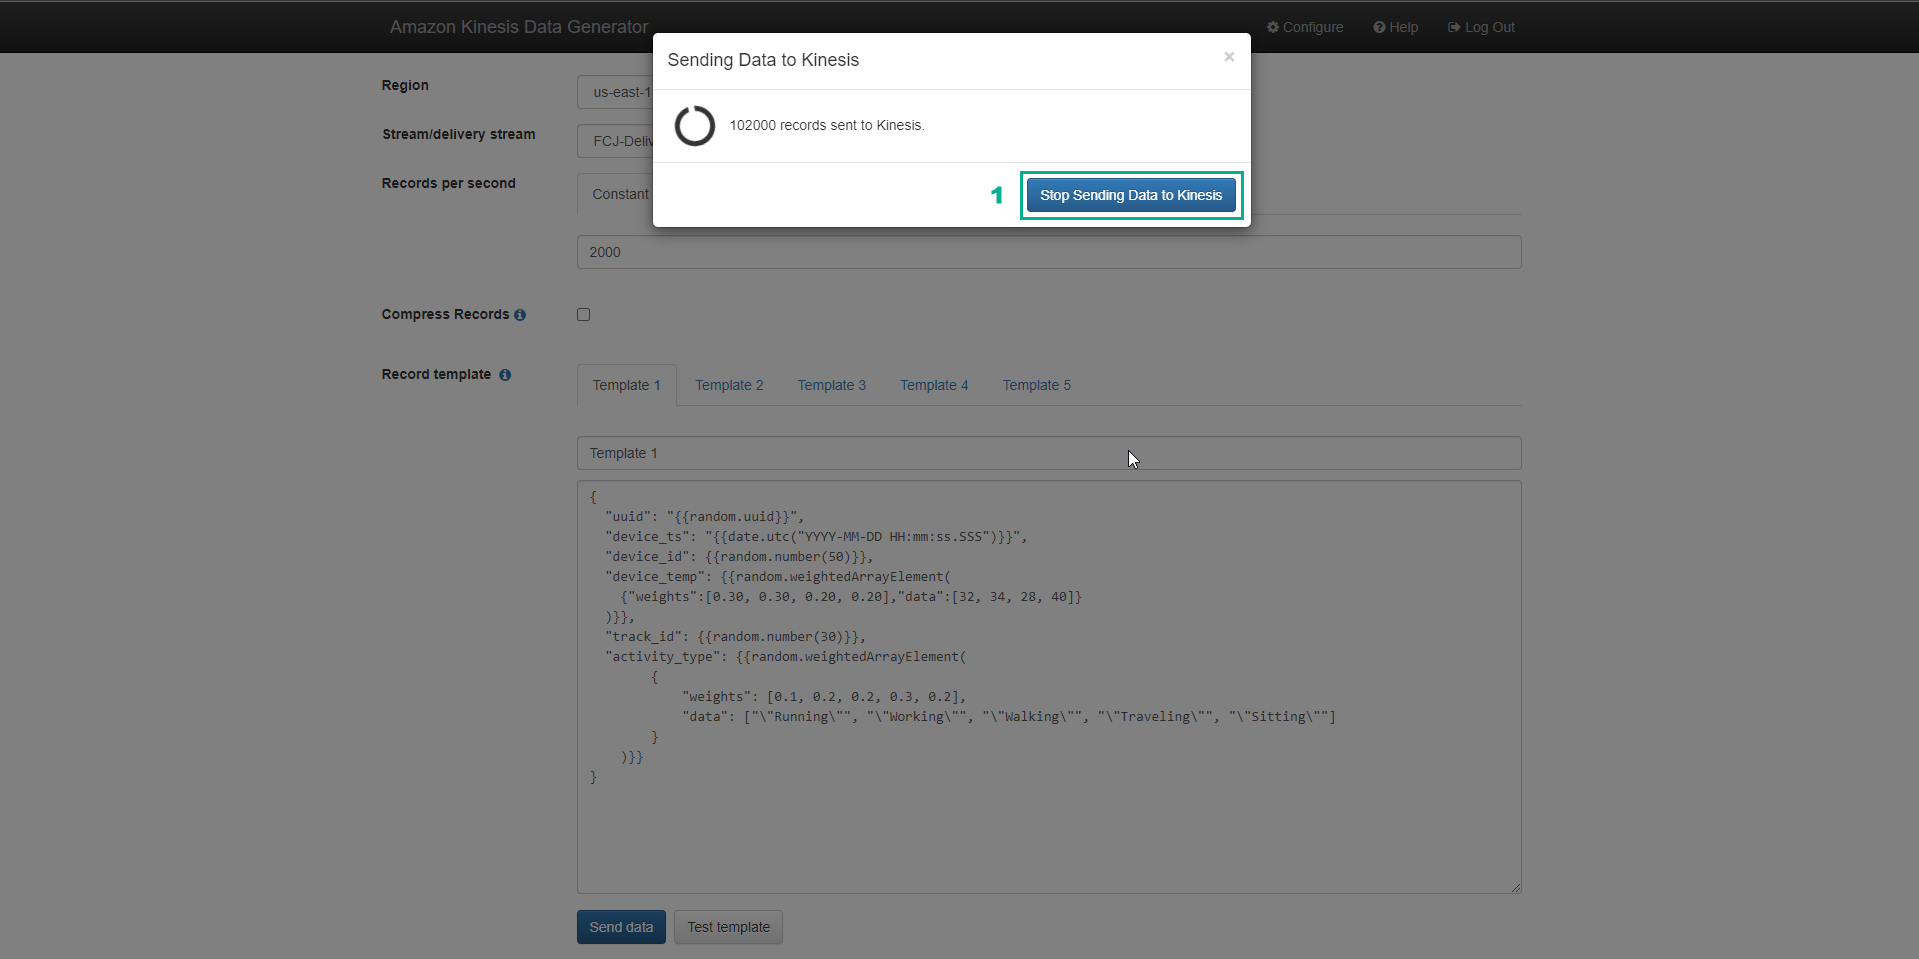
After sending approximately ~ 100,000 messages.
- You can choose Stop Sending Data to Kinesis.
-
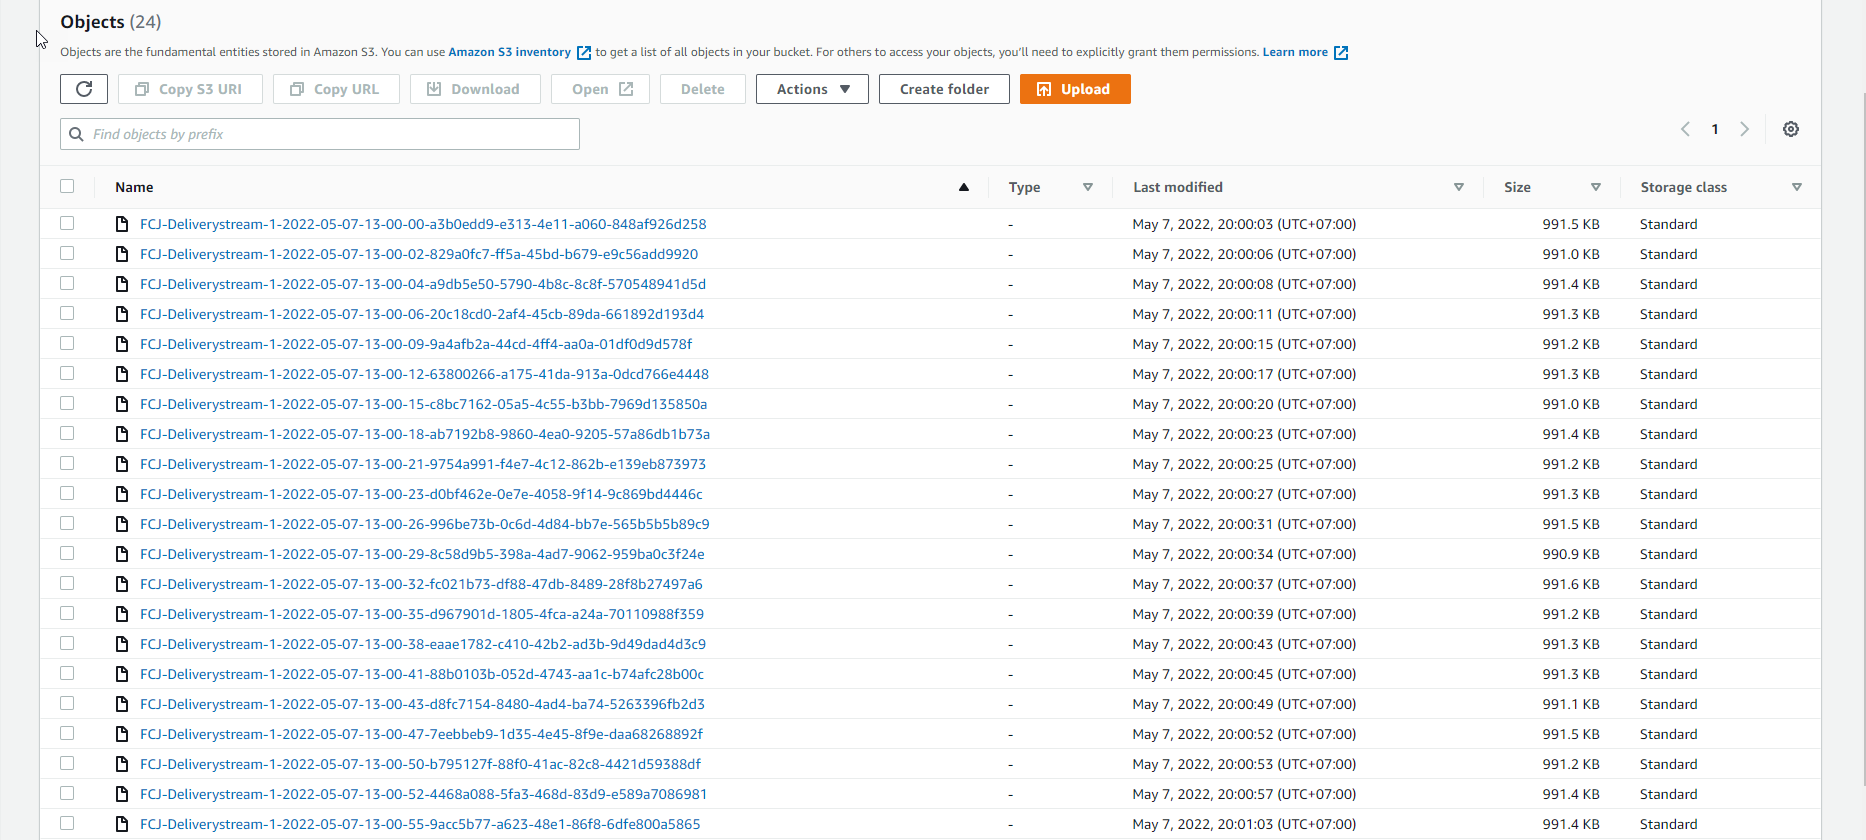
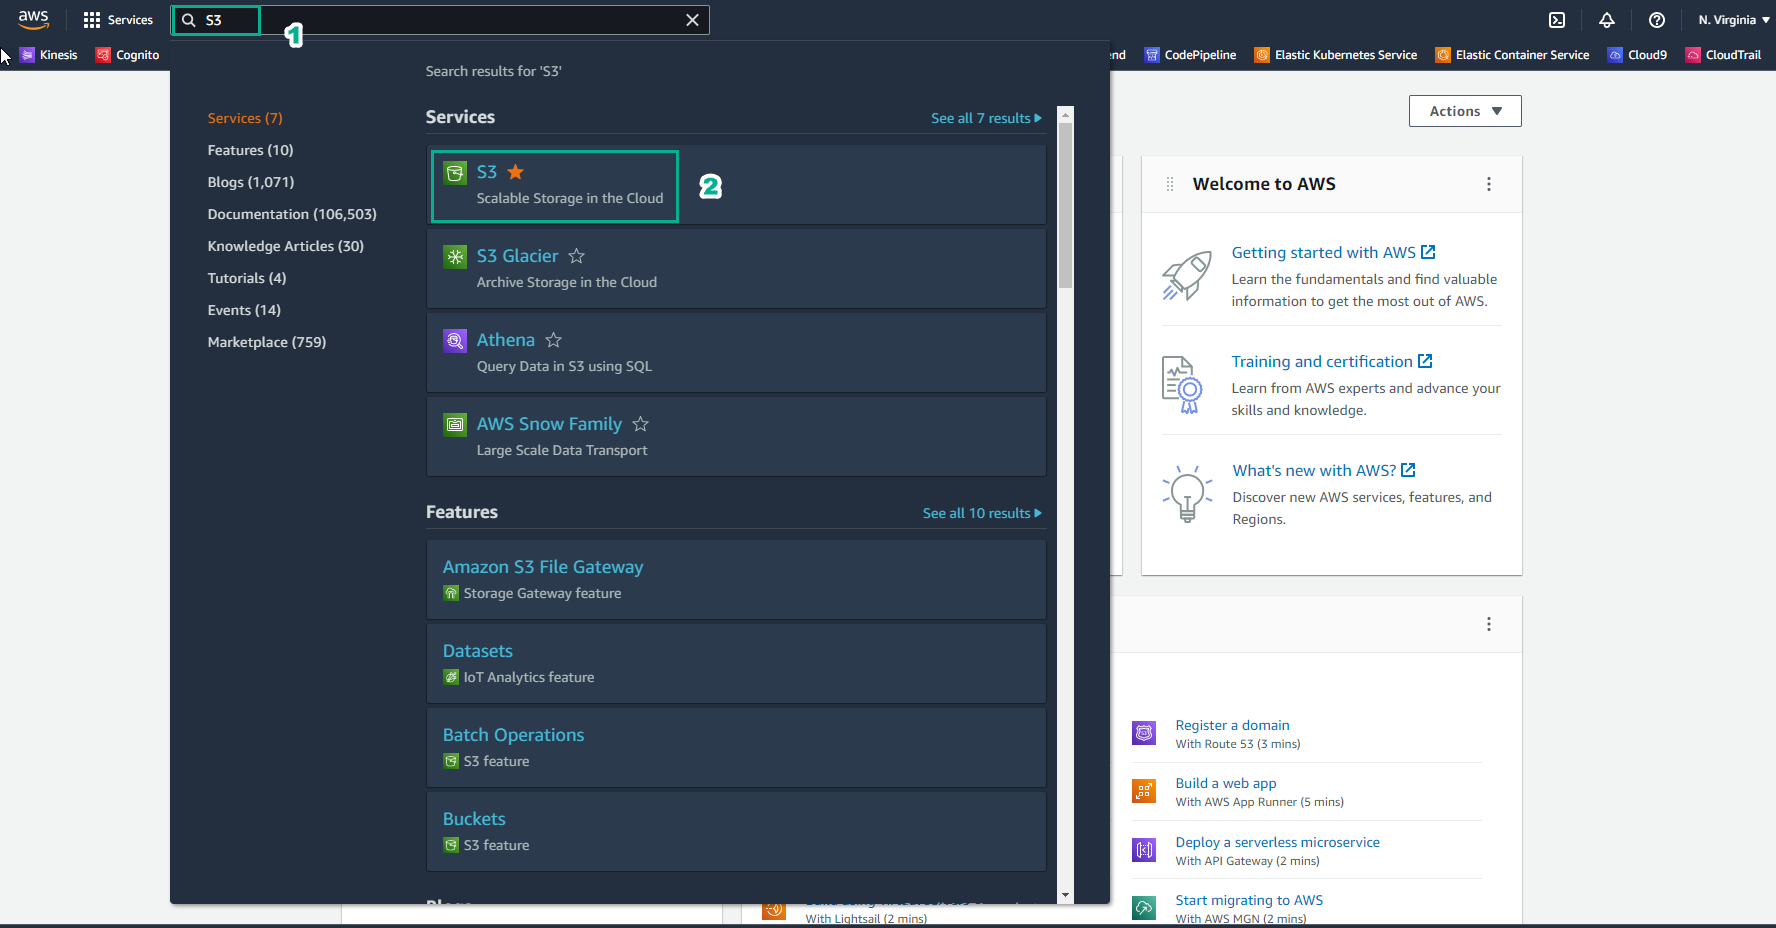
Check to ensure that the data has been sent to S3. Access the AWS Management Console.
- Find S3.
- Select S3.
-
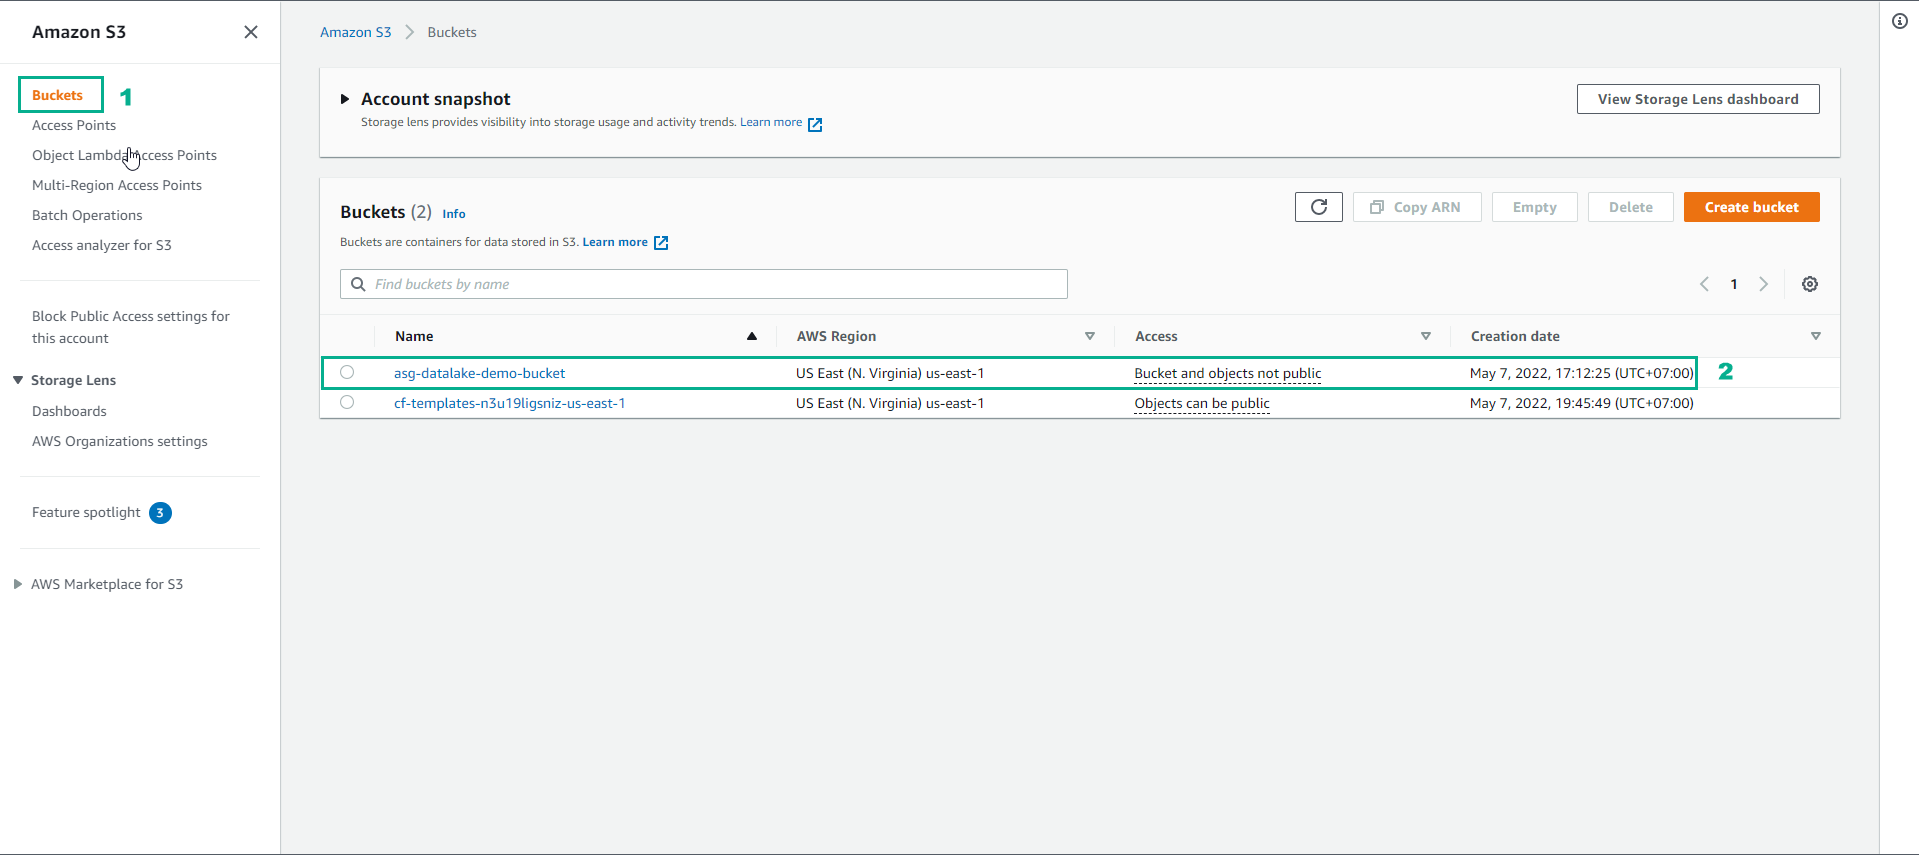
In the S3 interface.
- Select Bucket.
- Select asg-datalake-demo-bucket.
-
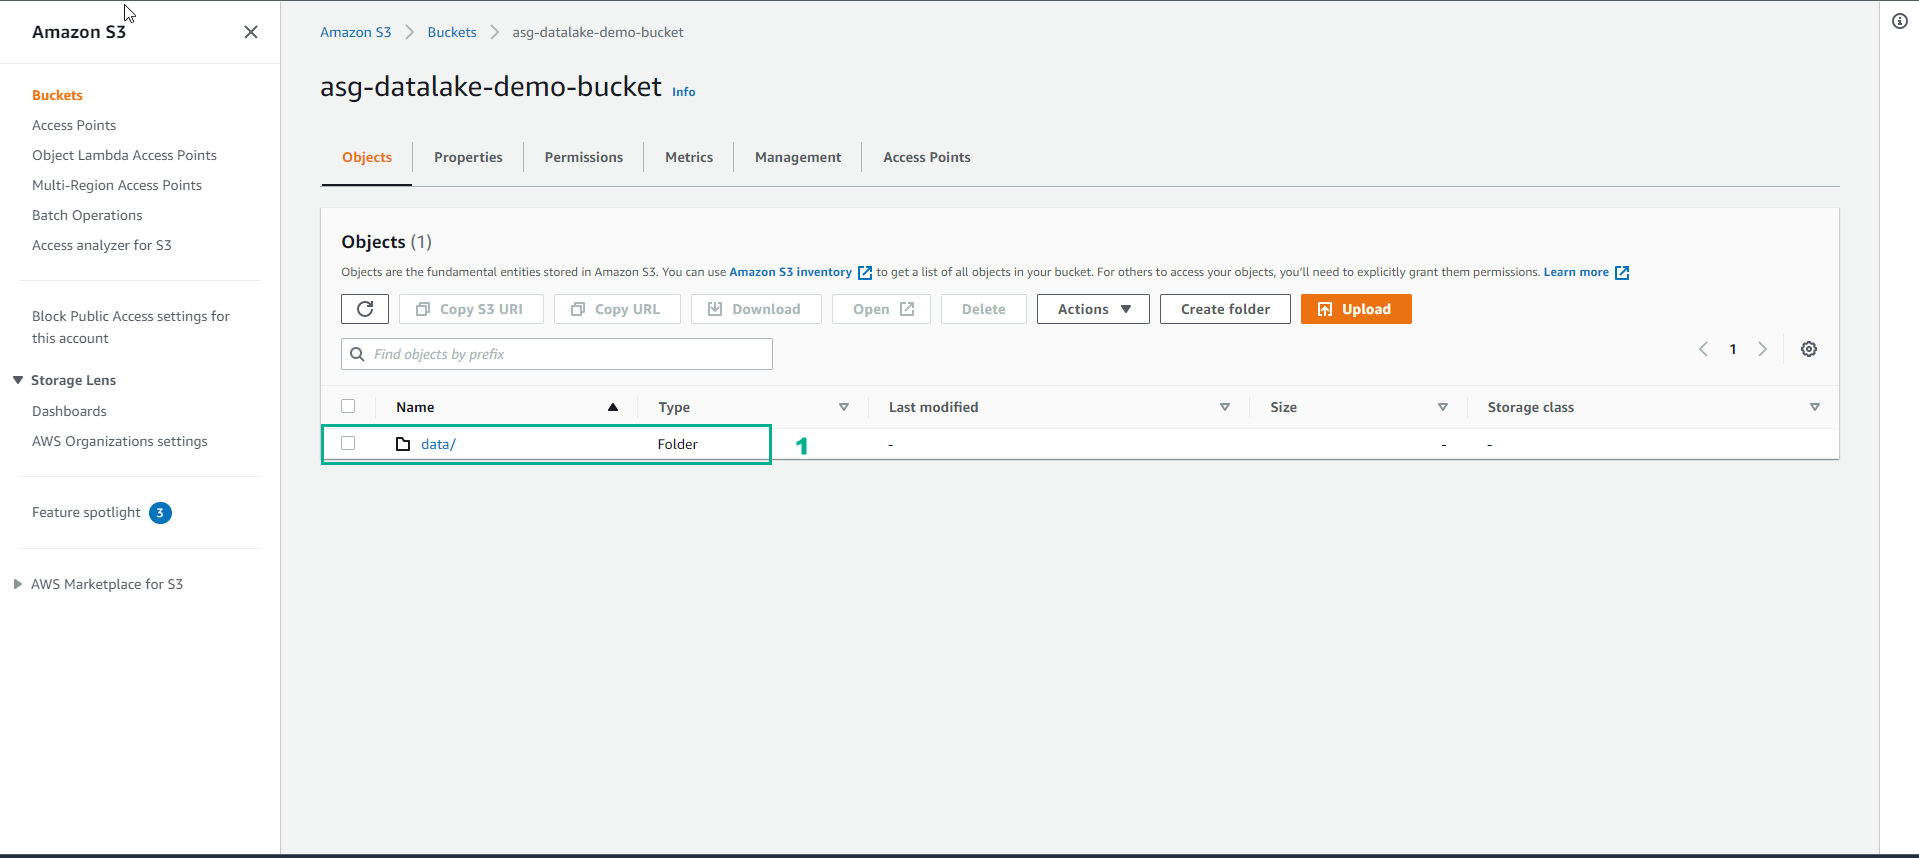
In the Bucket interface.
- Choose the data folder.
-
Then, select the raw2022 folder.
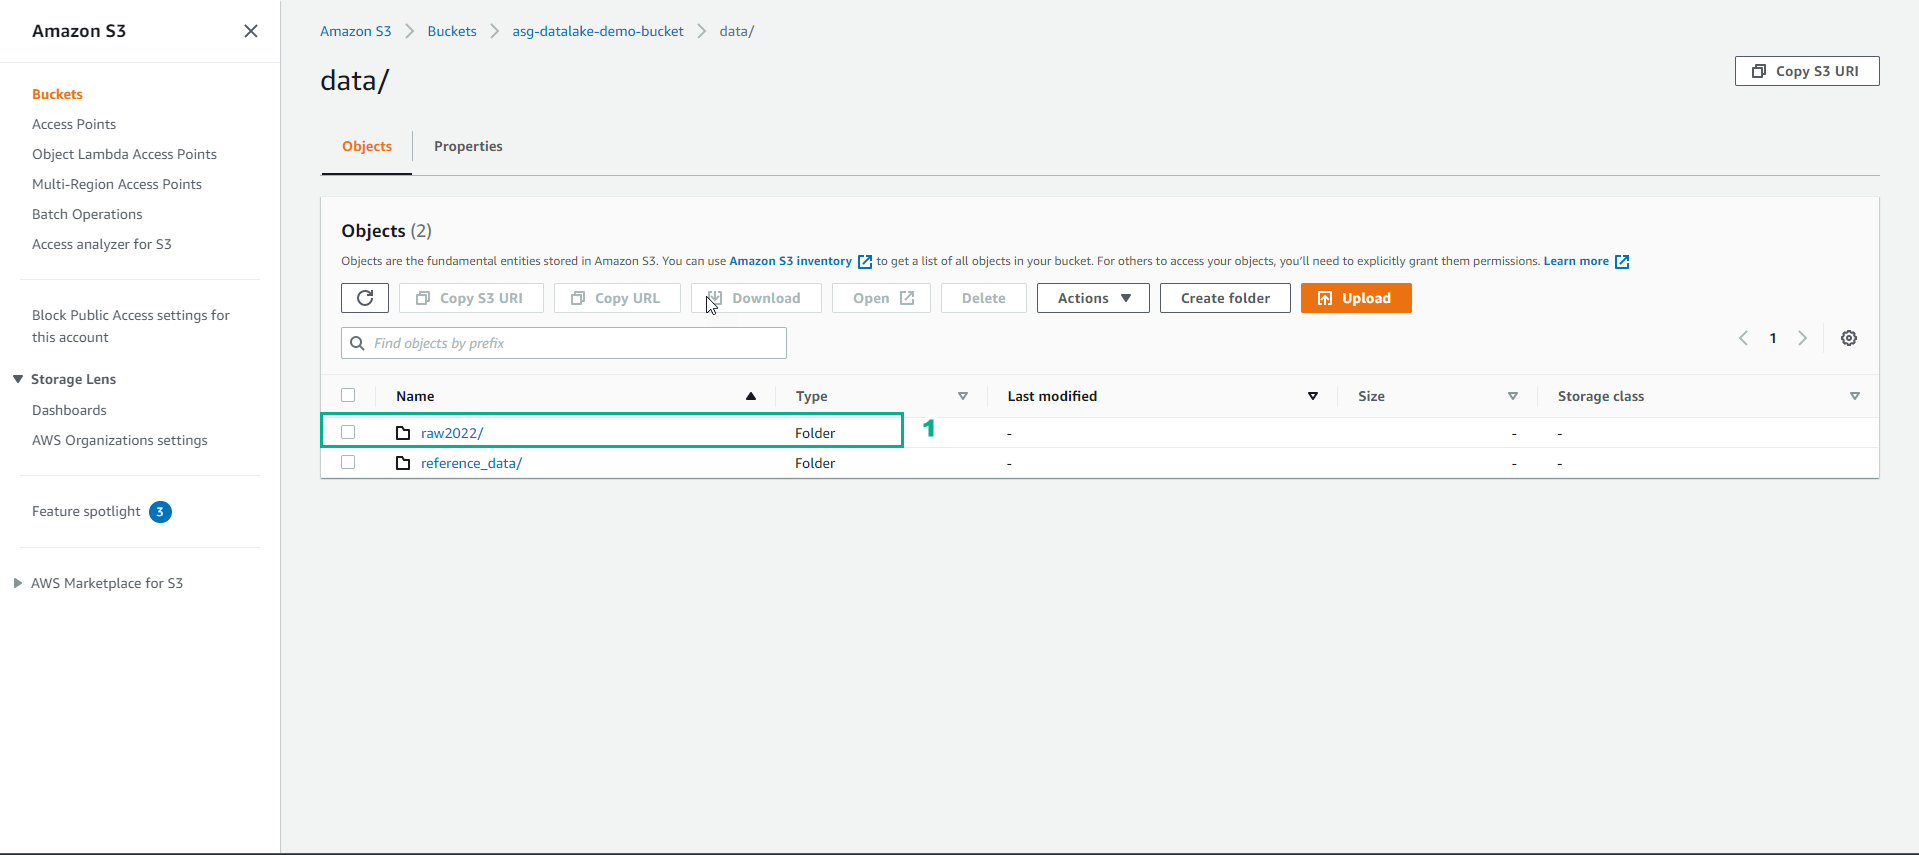
-
That’s it, the data has been sent to S3.